How to Apply & Mix Ready Mix Plaster
Have you ever tried to get a perfectly smooth wall? It’s a challenge, and the final look isn’t just about the product you use—it’s about how you apply it.
This is where ready-mix plaster can help. Unlike traditional plaster, where you mix cement and sand yourself, ready mix plaster is a pre-mixed product. You just add water, and it’s ready to go. This makes the job faster and simpler.
However, your ready mix plaster application technique is what makes the difference. The right way to mix and apply it ensures your walls are smooth, strong, and crack-free. The wrong way can lead to a messy job and a poor finish. We’ll show you how to do it right.
How Do You Prepare the Surface for Plaster Application?
Before applying the plaster, you need to prepare the surface. This step is super important and can make or break your final finish. A clean and prepared surface helps the plaster stick better and last longer.
Follow these simple steps:
- Clean the wall: Ensure the surface is free of dust, oil, and loose debris. You can use a stiff brush to get rid of any dirt.
- Fix any cracks: If there are any big cracks or holes in the wall, fill them first. This will give you a smooth base to work on.
- Make it wet: Lightly spray the wall with water. A damp surface helps the plaster stick better and prevents the wall from sucking the water out of the plaster too quickly.
- Apply a bonding agent (optional but recommended): For an even better bond, you can apply a bonding agent or a thin coat of PVA slurry. This is especially good for very smooth or hard surfaces like AAC Blocks and old concrete.
How to Mix Ready Mix Plaster for Perfect Consistency?
Mixing the plaster correctly is a key step. The wrong mix can be hard to apply and can lead to a weak finish. A perfect mix is smooth, easy to work with, and holds its shape.
Here are the steps to get the right mix:
- Add water first: Pour the required amount of clean water into a clean bucket. The ratio is usually 17-20% of the plaster’s weight, but check the instructions on the bag.
- Add the plaster: Slowly add the ready mix plaster powder to the water.
- Use a paddle mixer: For a smooth, lump-free mix, use an electric paddle mixer. Mix for about 3-5 minutes until you get a creamy, uniform paste.
- Let it rest: Let the mix sit for 5-10 minutes. This allows the special ingredients to activate. Then, give it a quick mix again.
- Mix in small batches: Only mix as much plaster as you can use in about 30-45 minutes. Ready mix plaster starts to set, so if you mix too much at once, it will become hard and unusable.
Also Read: Ready Mix Plaster vs Traditional Plaster
How to Apply Ready Mix Plaster in Steps?
Once your surface is ready and your plaster is mixed, you can start the application. This is the main part of the process, and a good technique will give you a smooth, even wall.
Follow these steps for the best results:
- Start from the bottom: It’s best to start at the bottom of the wall and work your way up. This prevents the plaster from sagging and helps you keep a uniform thickness.
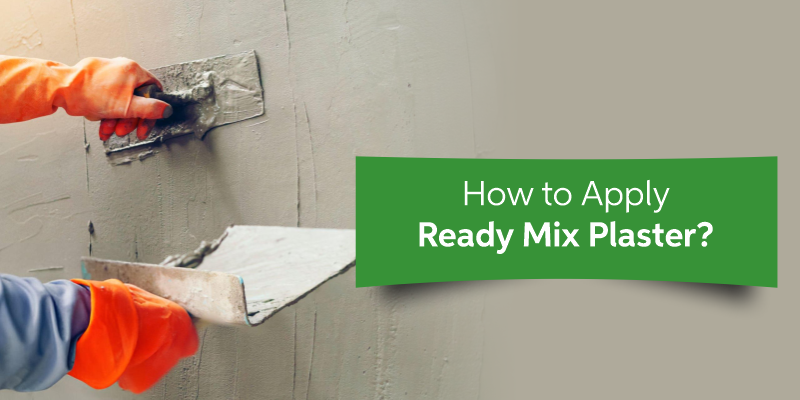
- Use the right tools: Use a trowel to pick up the plaster from your hawk board.
- Apply a uniform coat: Use the trowel to apply the plaster to the wall, spreading it with long, upward strokes. Try to keep the thickness the same across the whole wall. A good thickness is usually around 12-15 mm. If you need a second coat, make sure the first one is hard but not completely dry before you apply the second.
- Smooth it out: Use a flat trowel or a float to smooth the surface. Use consistent pressure to get rid of any high spots and fill in any low spots.
- Clean your tools: Wipe your trowel and float often to prevent old, hard plaster from sticking to the new application.
Also Read: What Is Ready Mix Plaster?
What Tools and Materials Do You Need for a Flawless Finish?
Having the right tools is just as important as having the right technique. Good tools make the job easier and help you get a better finish. Here is a list of what you will need:
- Mixing Bucket: A large, clean bucket for mixing the plaster.
- Paddle Mixer: An electric mixer with a paddle attachment is essential for getting a smooth, lump-free mix.
- Trowel and Hawk: A trowel is used to apply the plaster to the wall, and a hawk is a flat board used to hold a small amount of plaster while you work.
- Float: A float is used to smooth out the applied plaster and give it a final, flat finish.
- Measuring Jug: To measure the correct amount of water for mixing.
- Safety Gear: Don’t forget your safety gear. A good pair of gloves, safety goggles, and a dust mask will protect you from the plaster dust and chemicals.
- Quality Plaster and Water: Make sure you use a high-quality ready mix plaster and clean, fresh water.
Conclusion
Mastering the art of applying ready mix plaster is simpler than you think. By focusing on good surface preparation, getting the mix just right, and using the proper tools, you can achieve a professional-looking, flawless wall. The right technique combined with a quality product is the secret to a long-lasting, beautiful finish.
For top-quality building materials, including AAC Blocks and Ready Mix Plaster, you can trust Bigbloc Constructions. We provide products that help you build strong and smooth walls, right from the start.
Have more questions? Contact us today to learn more about our products and how we can help with your next project.
Frequently Asked Questions
Can machine spray application be used for ready mix plaster?
Yes, you can use a machine to spray on ready mix plaster. This method is much faster than applying it by hand, especially for large areas. However, you need to make sure the plaster is made for machine use and that you have the right machine for the job.
How long does ready mix plaster take to dry?
Ready mix plaster usually takes about 24 hours to become hard and dry. But, the full curing time can take a few weeks. The exact time depends on the weather, like temperature and humidity. It’s important to let it dry and cure fully before you do any painting or other work on the wall.